
Living in California, I’ve seen countless skincare trends sweep through the sun-drenched coastal boutiques—from CBD-infused serums to aggressive chemical peels. Yet, amidst the dry heat and constant sun exposure of the Golden State, my skin often craves something simpler, something deeply soothing. It turns out, the most profound solution doesn’t come from a high-tech Silicon Valley lab, but from centuries-old Korean traditions.
Did you know that rice has been the foundational beauty secret in Korea for generations? From brightening a dull complexion to deeply hydrating and soothing irritation, rice is now the star ingredient in many of the most popular, premium skincare products worldwide. But what if we could bypass the packaging and create our own potent rice mask and toner right at home?
Over the past week, I embarked on a 7-day K-Beauty challenge to test a simple yet incredibly effective DIY rice mask and toner regimen. I documented exactly how to craft these natural elixirs, how to use them, and the striking results they delivered. Furthermore, I compared my homemade concoctions with top-tier, store-bought rice skincare products to determine which option is truly worth your time and investment.
Why Rice Water? The Science Behind the Centuries-Old Tradition
Before diving into the recipe, it is essential to understand why rice is such a powerhouse ingredient. During the Joseon Dynasty, women of the royal court used mi-gam-su (rice bran water) to wash their faces, achieving a porcelain-like, translucent complexion. Today, dermatological science backs up this ancient practice.
The Chemical Composition of a Grain of Rice
Rice water is remarkably rich in vitamins, minerals, and amino acids that are vital for beautiful skin. Here is a breakdown of what makes it so effective:
- Ferulic Acid: A powerful antioxidant that neutralizes free radicals, protecting the skin from environmental stressors and UV damage.
- Allantoin: Known for its highly soothing and anti-inflammatory properties, allantoin helps heal compromised skin barriers.
- Vitamins B and E: These essential vitamins promote cell growth, slow down the skin’s aging process, and provide deep hydration.
- Inositol: A carbohydrate found in rice water that has been shown to improve skin elasticity and reduce the appearance of fine lines.
Case studies in holistic dermatology frequently highlight how consistent use of rice water can significantly reduce trans-epidermal water loss (TEWL), keeping the skin plump and resilient even in harsh, dry climates.
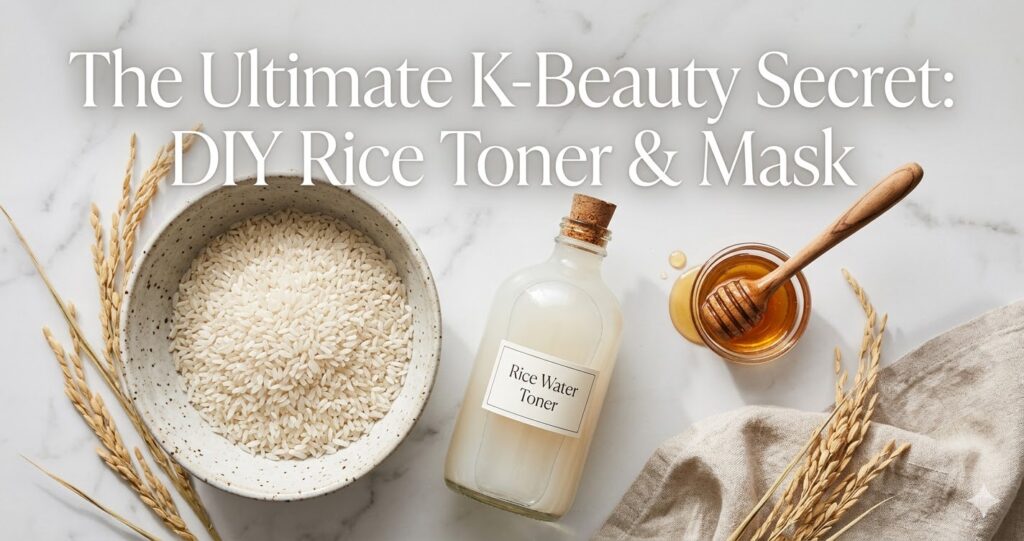
How to Make Your Own Rice Toner at Home
Crafting a rice toner is an exercise in mindful simplicity. All you truly need is high-quality rice and pure water. However, if you want to elevate the formula, you can incorporate natural additives like honey or milk.
The Essential Preparation
First, take one cup of rice (organic short-grain white rice works beautifully) and rinse it thoroughly to remove any impurities, dust, or pesticides. Discard this first wash. Add two cups of fresh, filtered water to the rinsed rice.
From here, you have two distinct options based on your specific skincare goals:
Method 1: The Fermented Brightening Boost
For enhanced brightening and gentle cellular turnover, fermentation is key. Fermentation alters the molecular structure of the rice water, increasing its antioxidant capacity and producing pitera (a yeast extract widely used in luxury K-Beauty lines).
- Let the rice and water sit at room temperature for 12 to 24 hours.
- You will notice a slightly sour scent; this means the fermentation process is active.
- Strain the water into a clean, sterilized glass container. This deepens the color and significantly boosts its skin-lightening effects.
Method 2: The Quick Hydration Soak
If your primary goal is soothing an irritated barrier and providing immediate hydration, skip the fermentation.
- Allow the rice to soak in the water for 30 minutes to 1 hour.
- Stir vigorously until the water becomes cloudy and milky.
- Strain the liquid. This method keeps the formulation incredibly mild, making it optimal for sensitive or highly reactive skin.
Once ready, store your strained rice toner in the refrigerator. The cooling effect will further help to de-puff the face and tighten pores upon application.
Crafting the Perfect DIY Rice Mask
While the toner is a liquid infusion, the mask requires a bit more time and dedication, but the textural benefits are entirely worth it. Take half a cup of rinsed rice and soak it in water for 3 to 4 hours until the grains soften.
Texture Option A: The Exfoliating Blend
For a thicker, slightly bouncy texture that offers a gentle physical exfoliation:
- Blend the soaked rice lightly, leaving some granular texture.
- Cook the blended mixture in a small saucepan with a splash of water over low heat until it forms a paste.
- Give it one final, quick pulse in the blender to refine the consistency.
Texture Option B: The Silky Smooth Paste
For a deeply nourishing, smooth application—ideal for compromised barriers:
- Cook the soaked rice in water first until it is incredibly soft and porridge-like.
- Transfer it to a blender and puree it into a fine, silky paste.
- Pro Tip: Mix in a teaspoon of raw, organic honey. Honey is a natural humectant and antibacterial agent. If you have extremely sensitive skin, however, the plain rice paste works magnificently on its own.
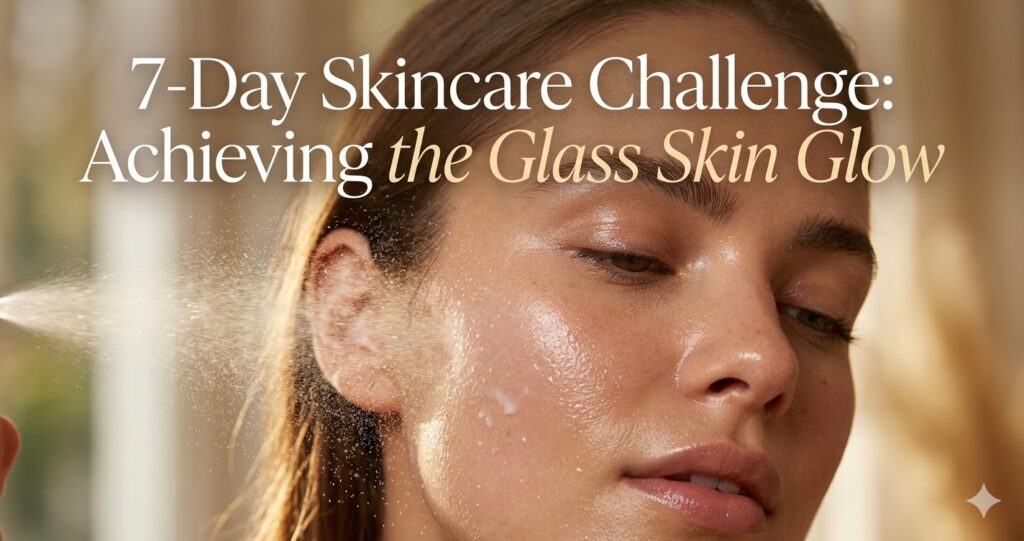
My 7-Day K-Beauty Rice Skincare Challenge
With my freshly made toner and masks housed in my refrigerator, I committed to a strict 7-day regimen. Here is how the process unfolded.
Day 1: Establishing the Baseline
I began by using the rice toner after my evening double-cleanse. Because both the mask and toner are freshly made, it is crucial to use them within a 3-day window to prevent bacterial growth.
Important Safety Step: I conducted a patch test on the inside of my arm to ensure no allergic reactions.
Applying the mask requires a bit of finesse. I applied a thin, even layer, carefully avoiding the delicate skin around the eyes and mouth. I left it on for 15 minutes. Upon rinsing with lukewarm water, I gently massaged my skin to activate the light exfoliating properties. For the toner, I transferred it into a fine-mist spray bottle. Misting the cold, milky liquid over my freshly washed face was an incredibly refreshing sensory experience.
Day 4: Deepening the Treatment
By the fourth day, I needed to make a fresh batch. This time, I allowed the toner to ferment for about 10 hours. For the mask, I opted for the cooked-then-blended method (Texture Option B).
The result was a slightly sticky, almost tacky texture unique to cooked rice. When applied, it felt like it was creating a physical, protective barrier on my skin, locking in moisture. After rinsing, my face felt softer, suppler, and deeply moisturized, without the tight, stripped feeling that clay masks often leave behind.
Day 7: The Final Verdict and Results
By the final day of the experiment, finishing my routine with the fermented rice toner, the visual changes were undeniable.
Comparing my skin to Day 1, my complexion looked noticeably brighter and significantly more even in tone. The texture was undeniably smoother, mimicking the coveted “glass skin” aesthetic so highly prized in Korean beauty culture. I felt profound soothing and hydrating effects throughout the entire week.
However, in the spirit of complete transparency, the oil control and deep pore exfoliation were minimal. These are natural, gentle ingredients, and they perform exactly as such—they do not possess the aggressive resurfacing power of a BHA or AHA acid.
DIY vs. Store-Bought Skincare: Which is Truly Worth It?
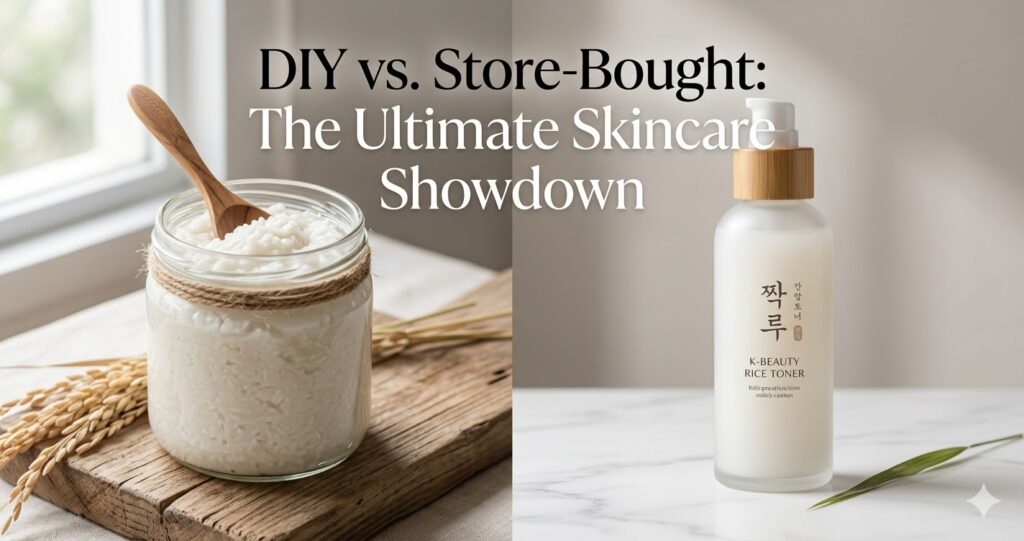
This past week has absolutely reinforced my trust in the profound benefits of rice-based skincare. But the ultimate question remains: Should you stick with the store-bought formulations, or make your own?
The Case for Store-Bought K-Beauty
Commercial products are undeniably convenient. They are expertly formulated with preservatives to ensure a long shelf life, and they are frequently packed with synergistic active ingredients—like niacinamide, hyaluronic acid, or ceramides—that amplify the benefits of the rice extract. They provide consistent, reliable results and are effortless to incorporate into a busy lifestyle.
The Case for Homemade DIY
Homemade masks possess an undeniable, artisanal charm. They are highly customizable, incredibly affordable, and offer 100% transparency regarding ingredients. You know exactly what is going onto your skin.
The downside is the effort. Homemade masks require preparation time, the texture can be inconsistent depending on your blending technique, and their lack of preservatives means they spoil rapidly. Furthermore, store-bought options tend to be more potent due to concentrated extracts.
The Final Verdict
Stronger does not always mean better. I found that my homemade masks were significantly gentler while still delivering magnificent hydration and brightening effects.
My conclusion? It depends entirely on what your skin requires in the moment. If I simply want pure hydration, a natural glow, and a calming ritual without any harsh exfoliation, I will gladly head to the kitchen to whip up a DIY mask. But if I require deep exfoliation, targeted acne treatment, or simply do not have the time for kitchen chemistry, a high-quality, store-bought K-beauty product remains the superior choice. Both have rightfully earned a permanent place in my holistic beauty routine.
Your K-Beauty DIY Checklist for Success
If you are ready to try this at home, follow this quick checklist to ensure maximum safety and efficacy:
- [ ] Always use clean tools: Sterilize your glass jars and blenders before use.
- [ ] Refrigerate immediately: Store all rice water and pastes in the fridge.
- [ ] Mind the expiration: Discard any DIY rice products after 3 to 4 days.
- [ ] Patch test: Always test a small area of the jawline before applying a new mixture to your entire face.
- [ ] Quality matters: Opt for organic rice to avoid pesticide residue on your skin.
By embracing the wisdom of the past, we can cultivate a deeply nourishing, mindful approach to our modern skincare rituals.
💡 Frequently Asked Questions (FAQ)
Q1: What type of rice is best for the skin when creating a DIY natural rice water toner?
A1: To achieve the best results for your skin, we highly recommend using ‘Organic White Rice’ that is free from pesticides and chemical fertilizers. While brown rice is also rich in nutrients, white rice is most suitable for DIY skincare because it has a smoother texture, and the components that aid in skin brightening are released into the water more quickly and intensely.
Q2: What is the shelf life of homemade rice masks and toners, and how should they be stored to prevent adverse reactions?
A2: Homemade rice skincare products contain absolutely no preservatives and can spoil very quickly. They must be stored in ‘refrigeration’ within sanitized, airtight glass containers and should be completely used within 3 to a maximum of 4 days after preparation. If the scent has turned sour or the color has become cloudy, it must be discarded immediately as it could cause skin troubles (such as inflammation).
Q3: Can I use rice water toner daily without stressing my skin barrier?
A3: Non-fermented, standard rice water toner is extremely gentle, and its allantoin component soothes the skin, making it safe for daily use. However, because fermented rice water toner produces subtle, natural exfoliating components like lactic acid, it is recommended for sensitive skin types to limit use to 2–3 times per week and adjust the frequency by observing the skin’s reaction (such as stinging or redness).
🌿 Weekly wellness, health & beauty insights — straight to your inbox
Free subscription · Cancel anytime
")

